One of the things I love best about quiltmaking is the love and care that goes into the process. Sometimes though, despite the love, the design just doesn’t suit the receiver. This was the situation with my friend Jeremy’s quilt.
His great-grandmother had made it and given it to him, but it wasn’t a particularly handsome quilt in his eyes, so it had stayed folded up in the closet for years.
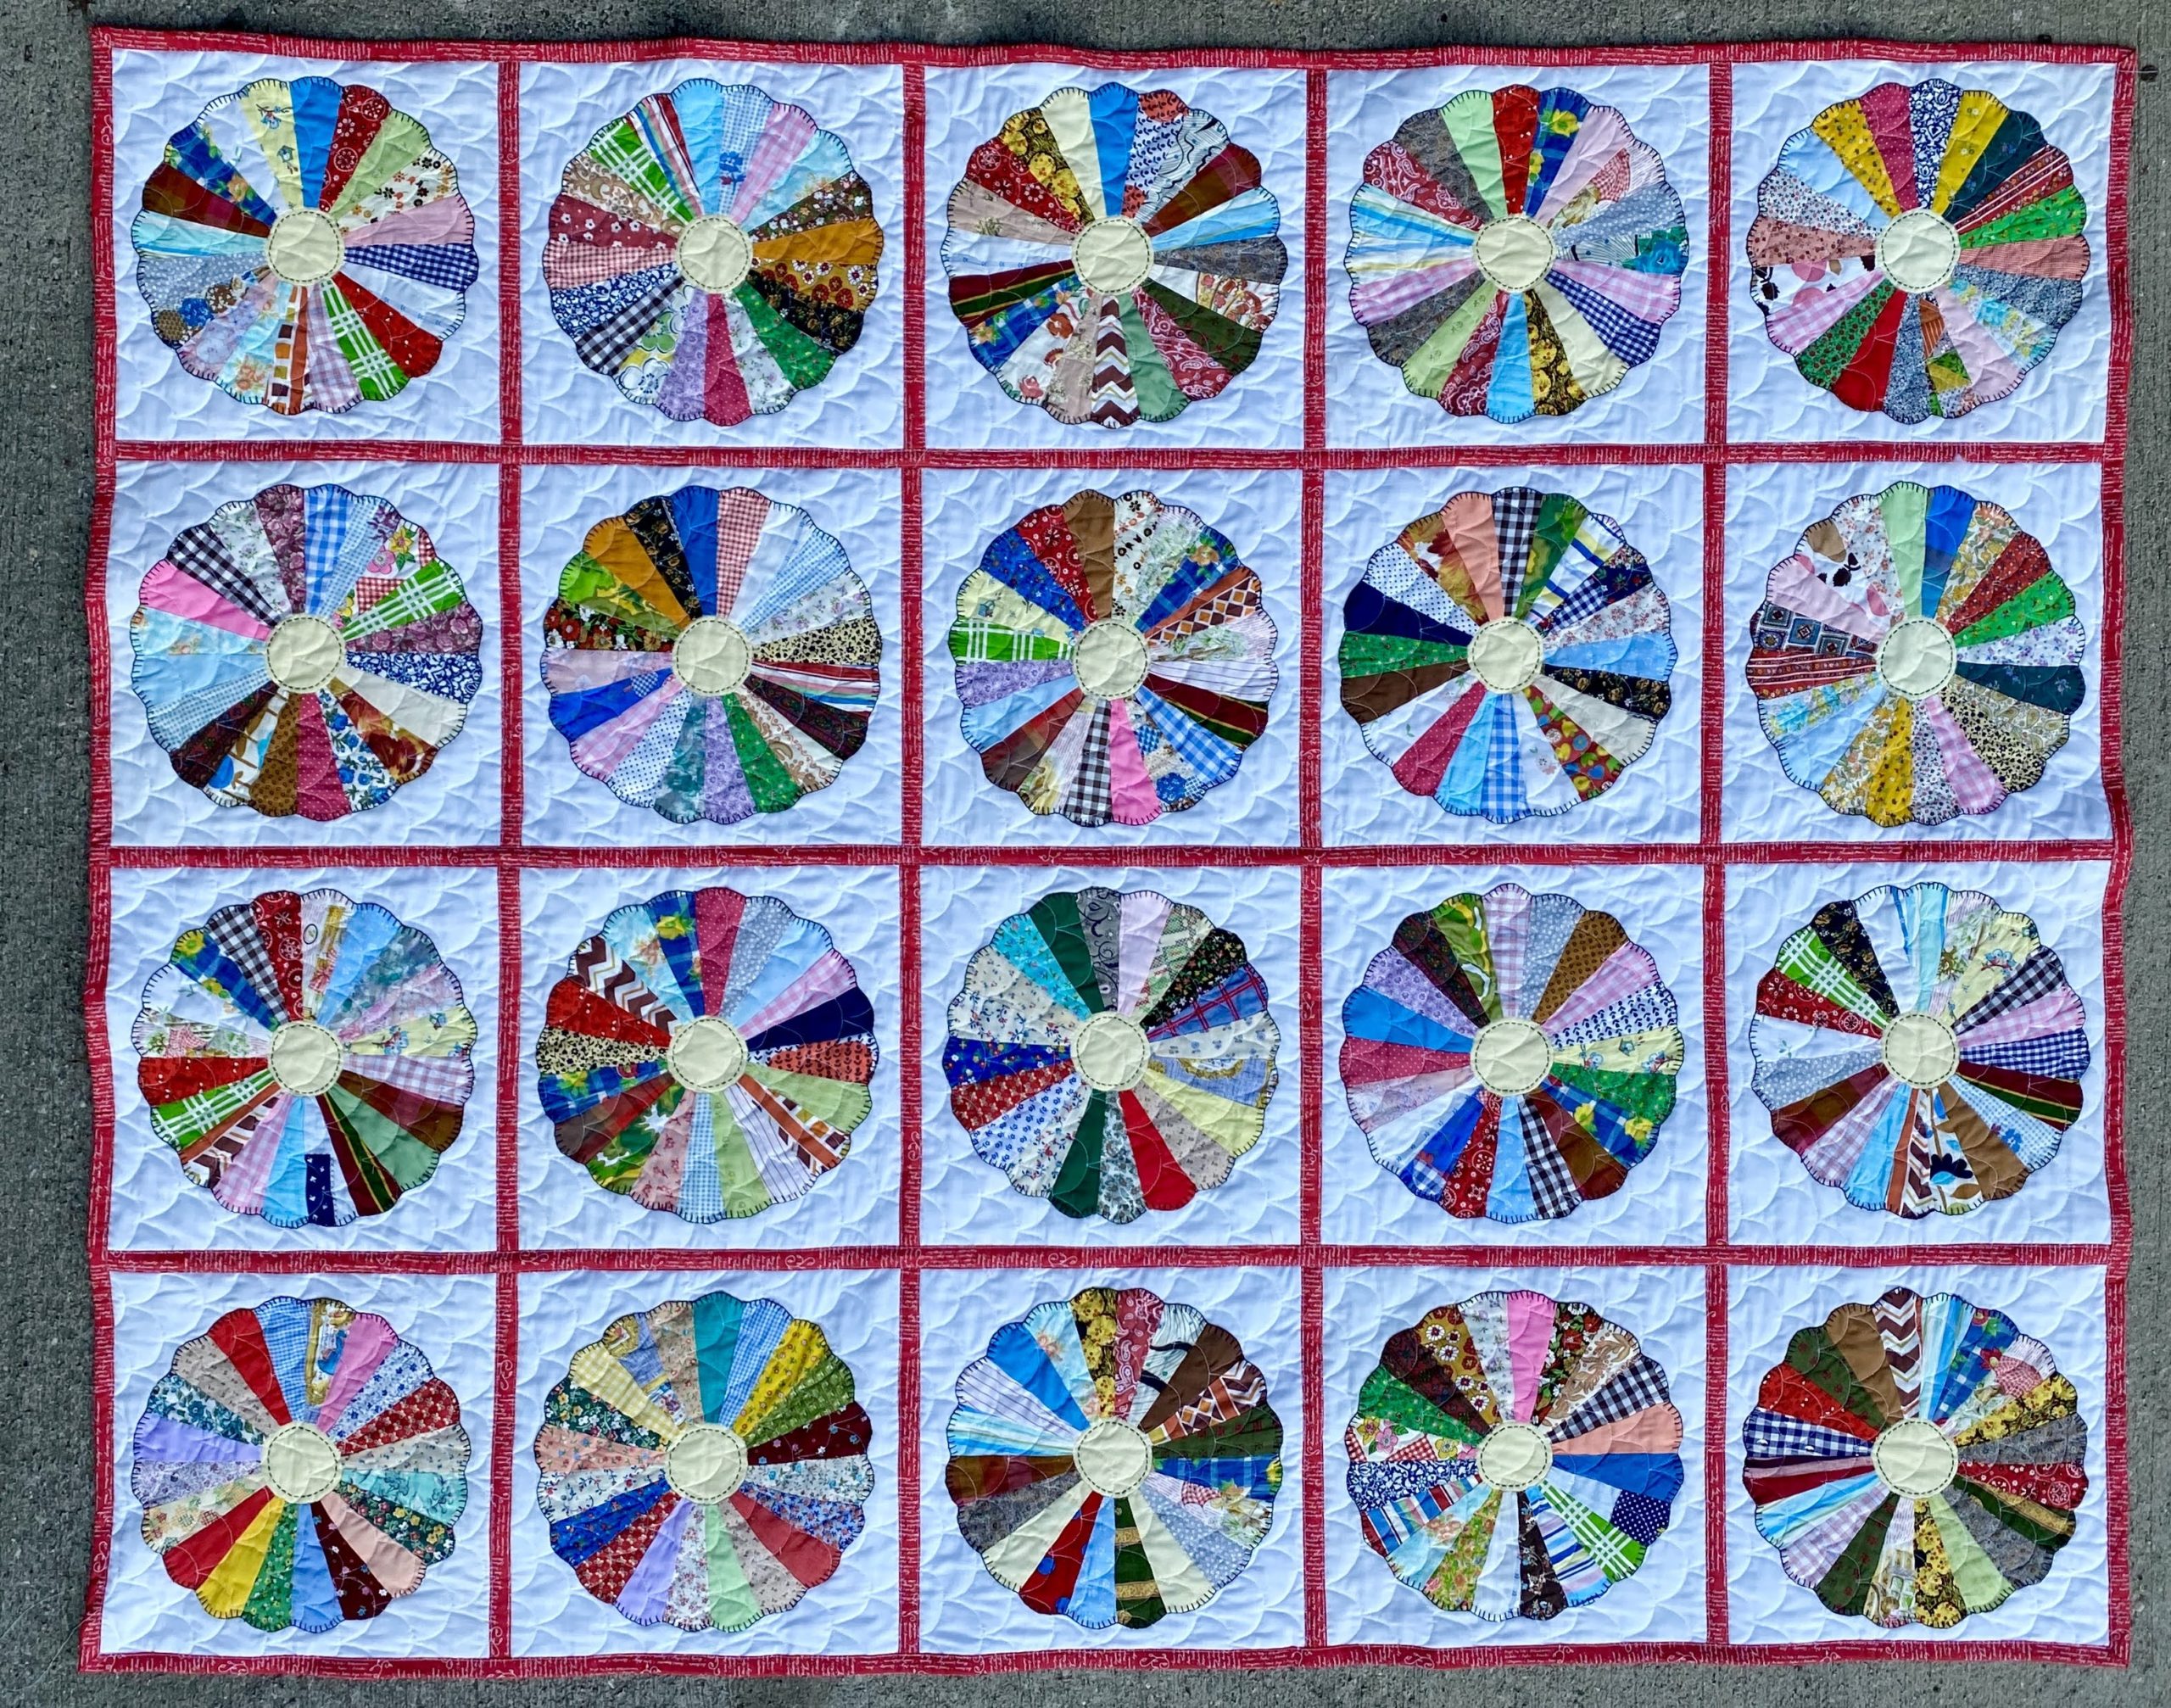
One night he asked if I’d be willing to remodel the quilt, taking out the periwinkle sashing that wasn’t in his color palette and taking down the amount of negative space. I said yes and started cutting up his quilt.
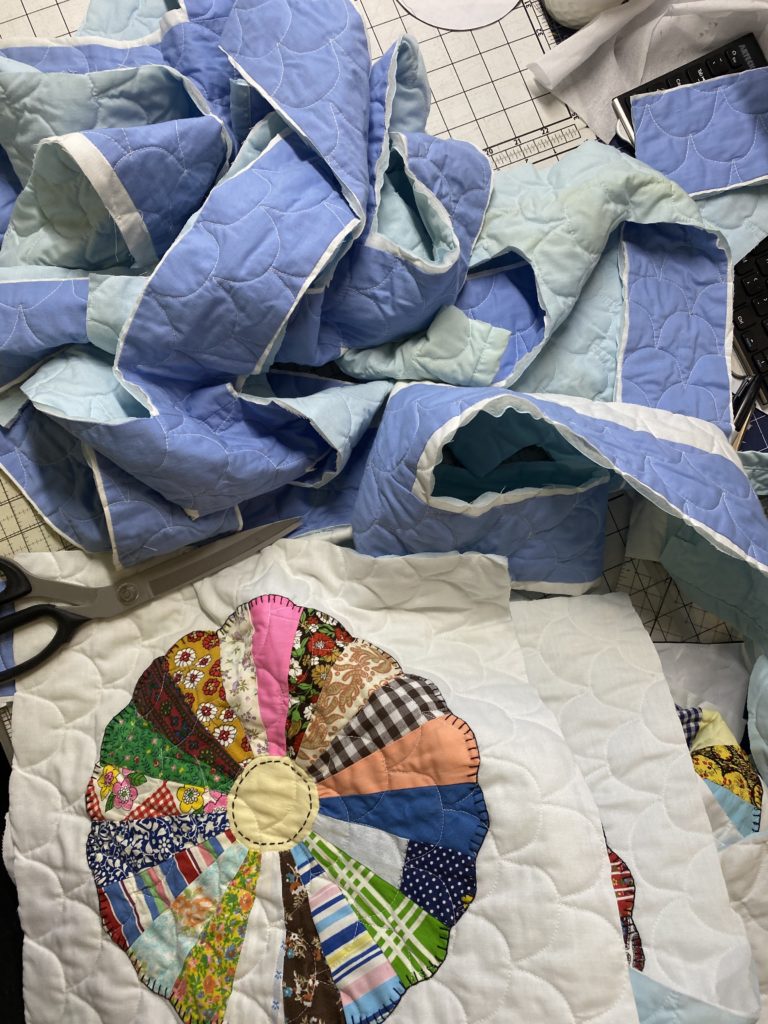
I haphazardly cut each Dresden Plate block out with my big Kai scissors, leaving much of the sashing intact in case I needed it (which I did), then using a square acrylic ruler, I cut each block from the original 17″ to 13 1/2″, giving about an inch-and-a-half perimeter around each of the patchwork Dresden plates. They had been so lovingly done, with hand stitching on the centers and around the edges, I wanted to showcase them. Cutting off some of the white space around them tightened up the focus.
I then cut apart some of the sashing and un-quilted it.
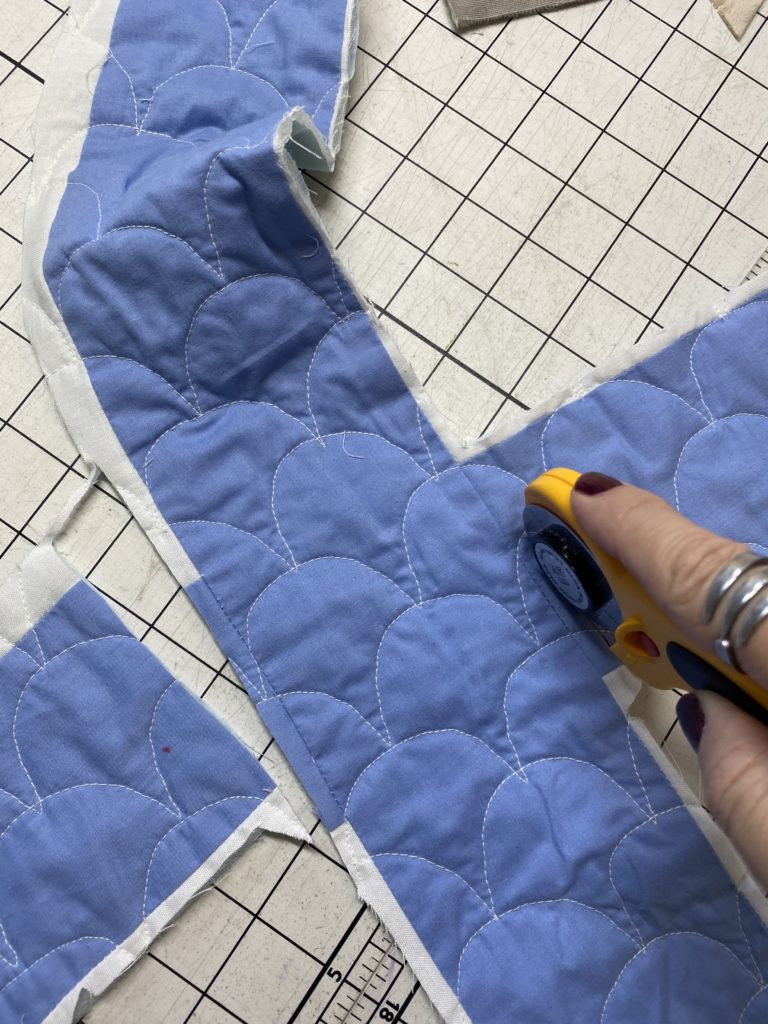

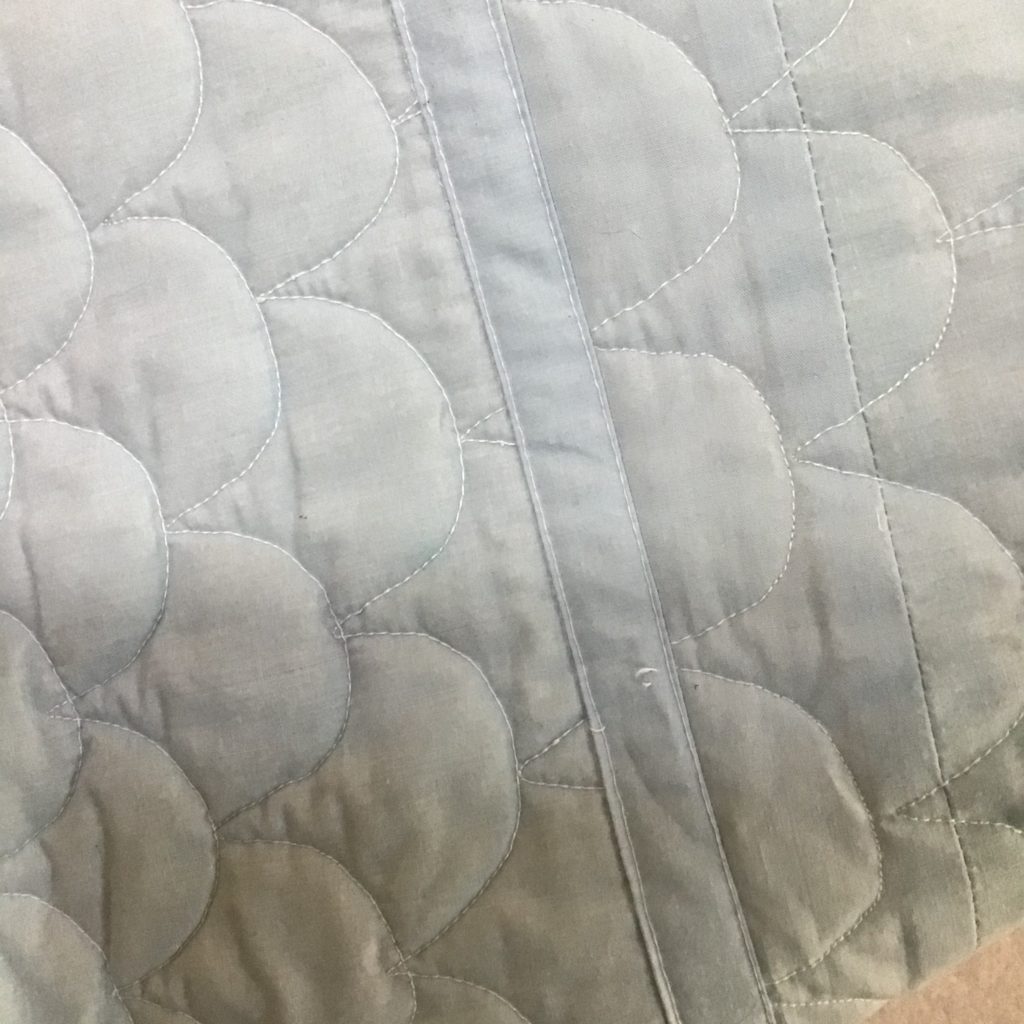
These became the sashing for the back. I’d hoped that I’d find something that would coordinate with the original baby blue backing, but after digging through my stash for a half hour, I realized it would be better if it all matched. So I picked a million stitches out, steam-ironed the light blue fabric to remove as much of the stitch marks as I could and cut it to size.
I put it together by stitching a new red sashing (a Riley Blake Designs fabric from my stash) to the front and a re-used blue one to the back.
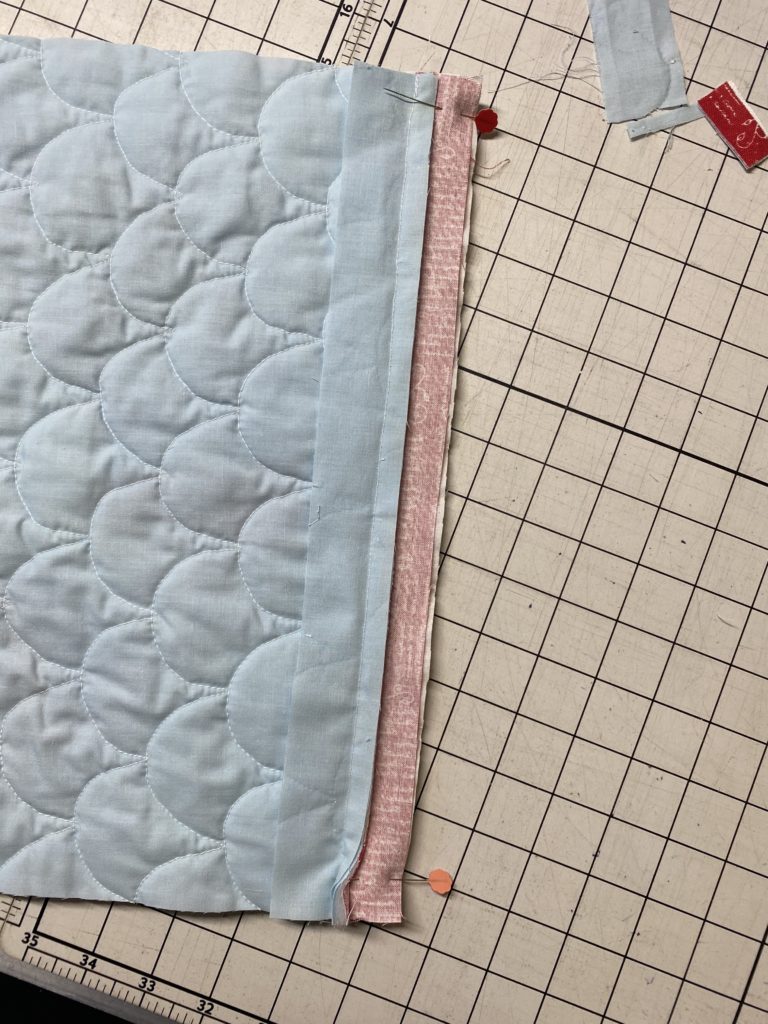

I pressed the red one over and stitched on the next block, then pressed over the blue one and did top-stitching to keep it in place.
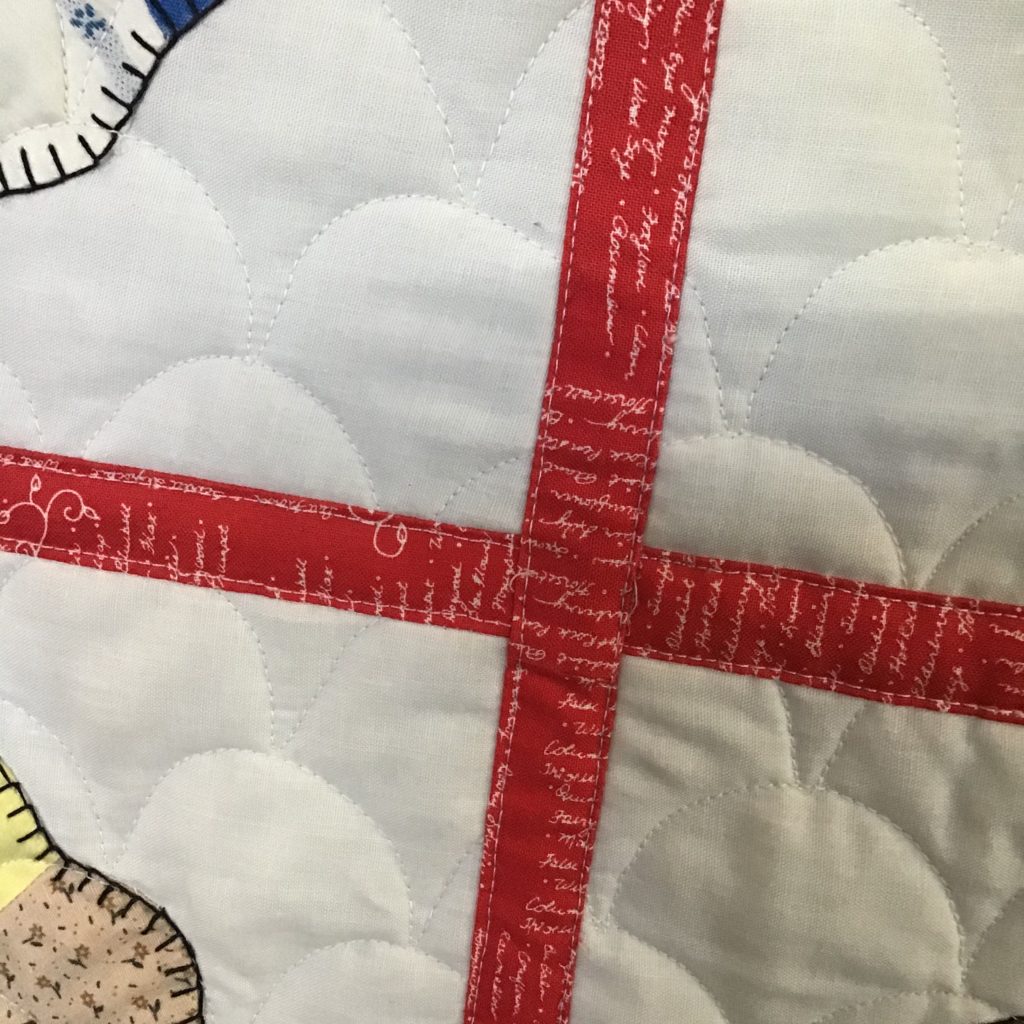

It’s not perfect, but it turned out pretty darn good. And the best part is that it matches perfectly, so the back is still a solid baby blue color.

I pieced them on row of five blocks at a time, then did the same to piece the strips together.
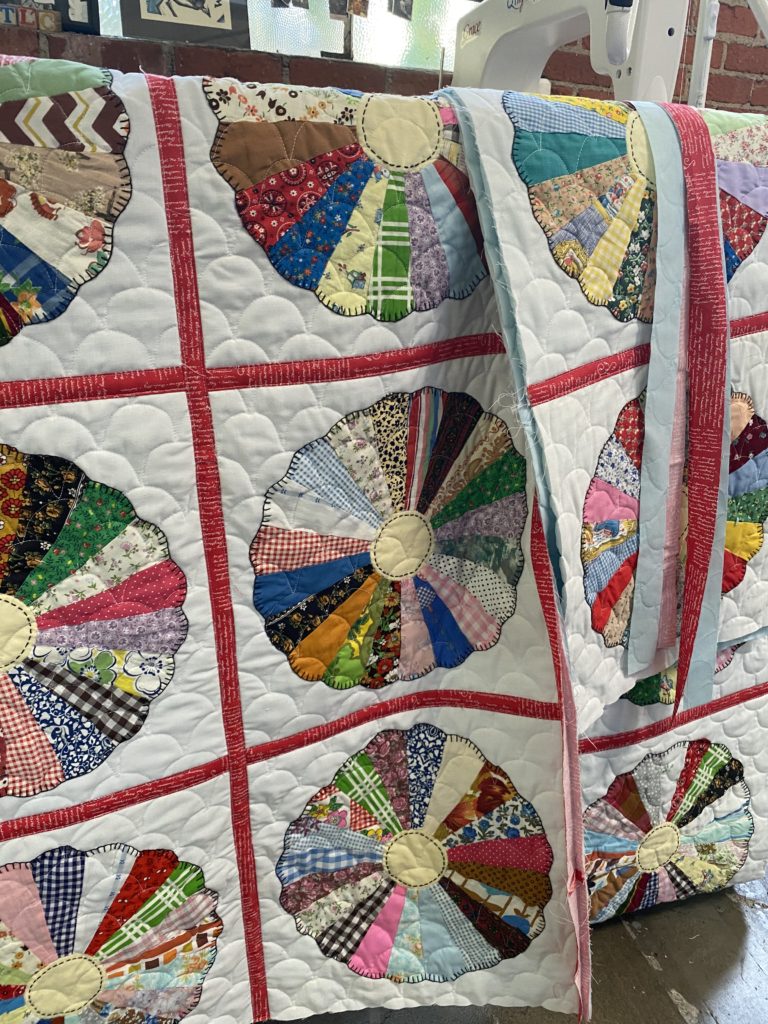

It really was a pretty fast process and I was thrilled when I got all the strips together. Then I realized something that threw a kink into the works. I had 1/2″ sashing, but if I did the binding as originally planned, it would only be 1/4″ wide. This wasn’t going to work design-wise, so I hatched a new plan.
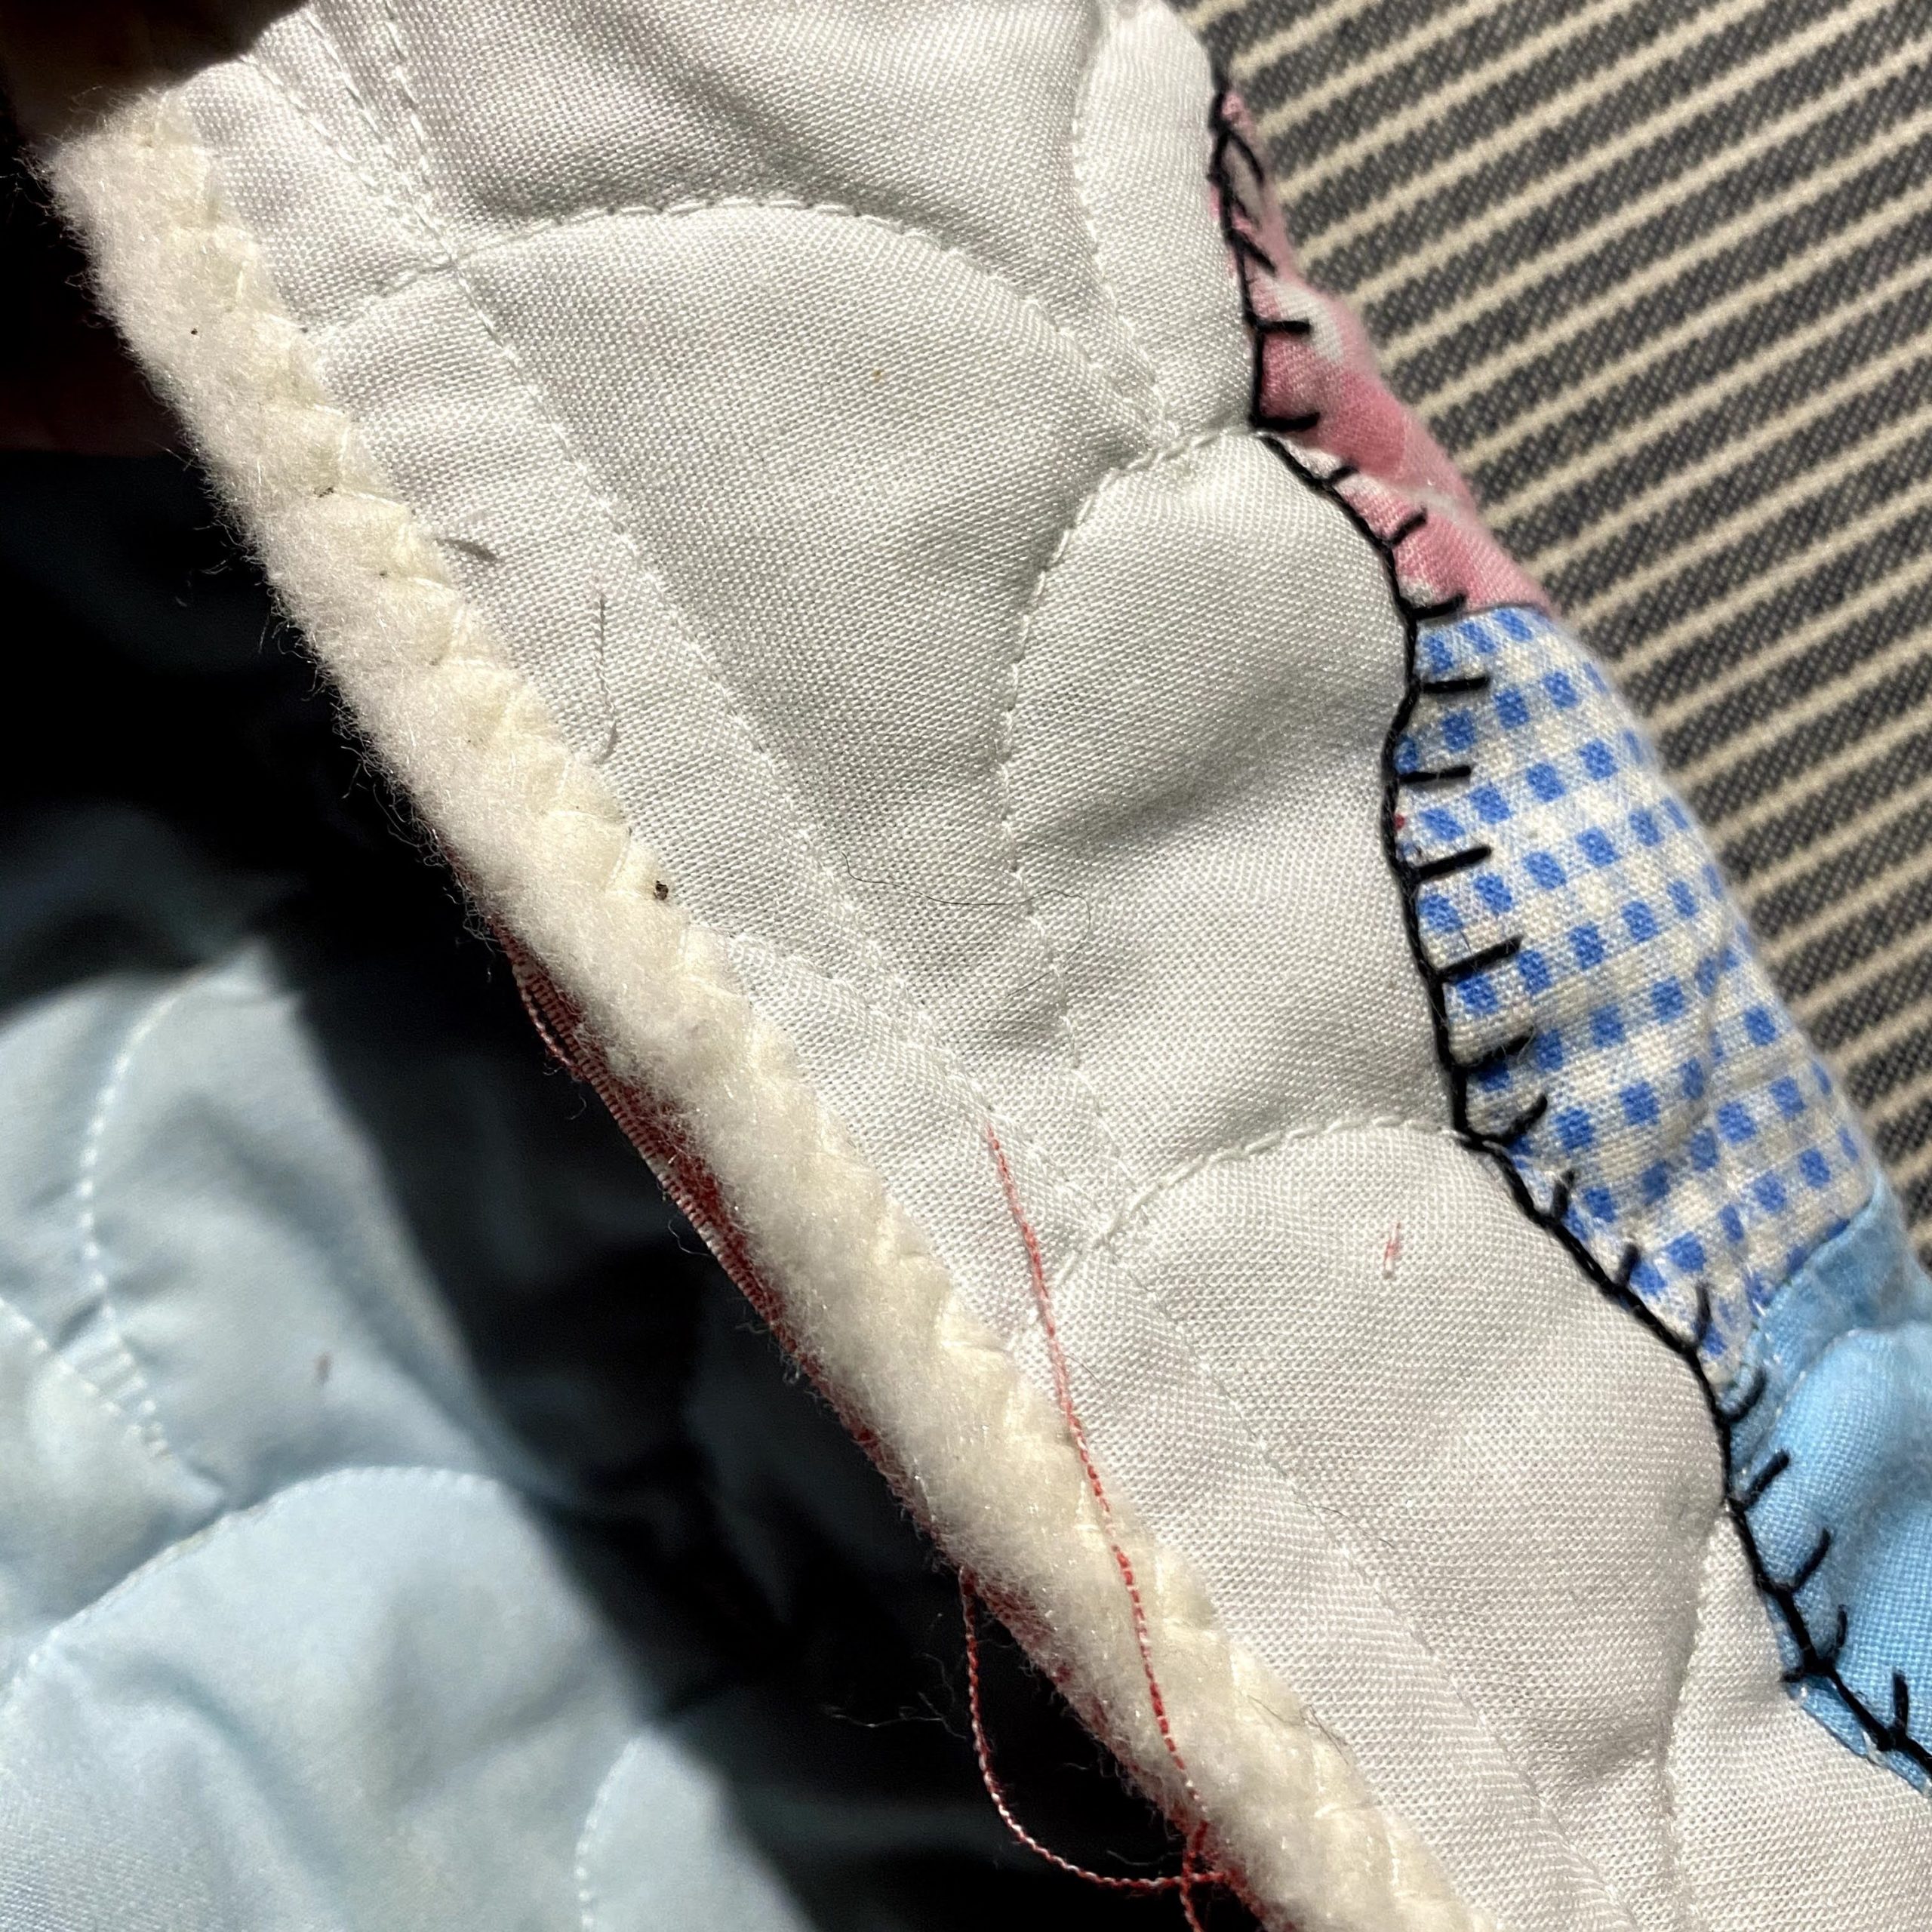
I sewed a one-inch strip of batting all the way around the quilt then trimmed it to a heavy quarter-inch. From there I sewed on the binding so it would be a more visually appealing 1/2″ wide.

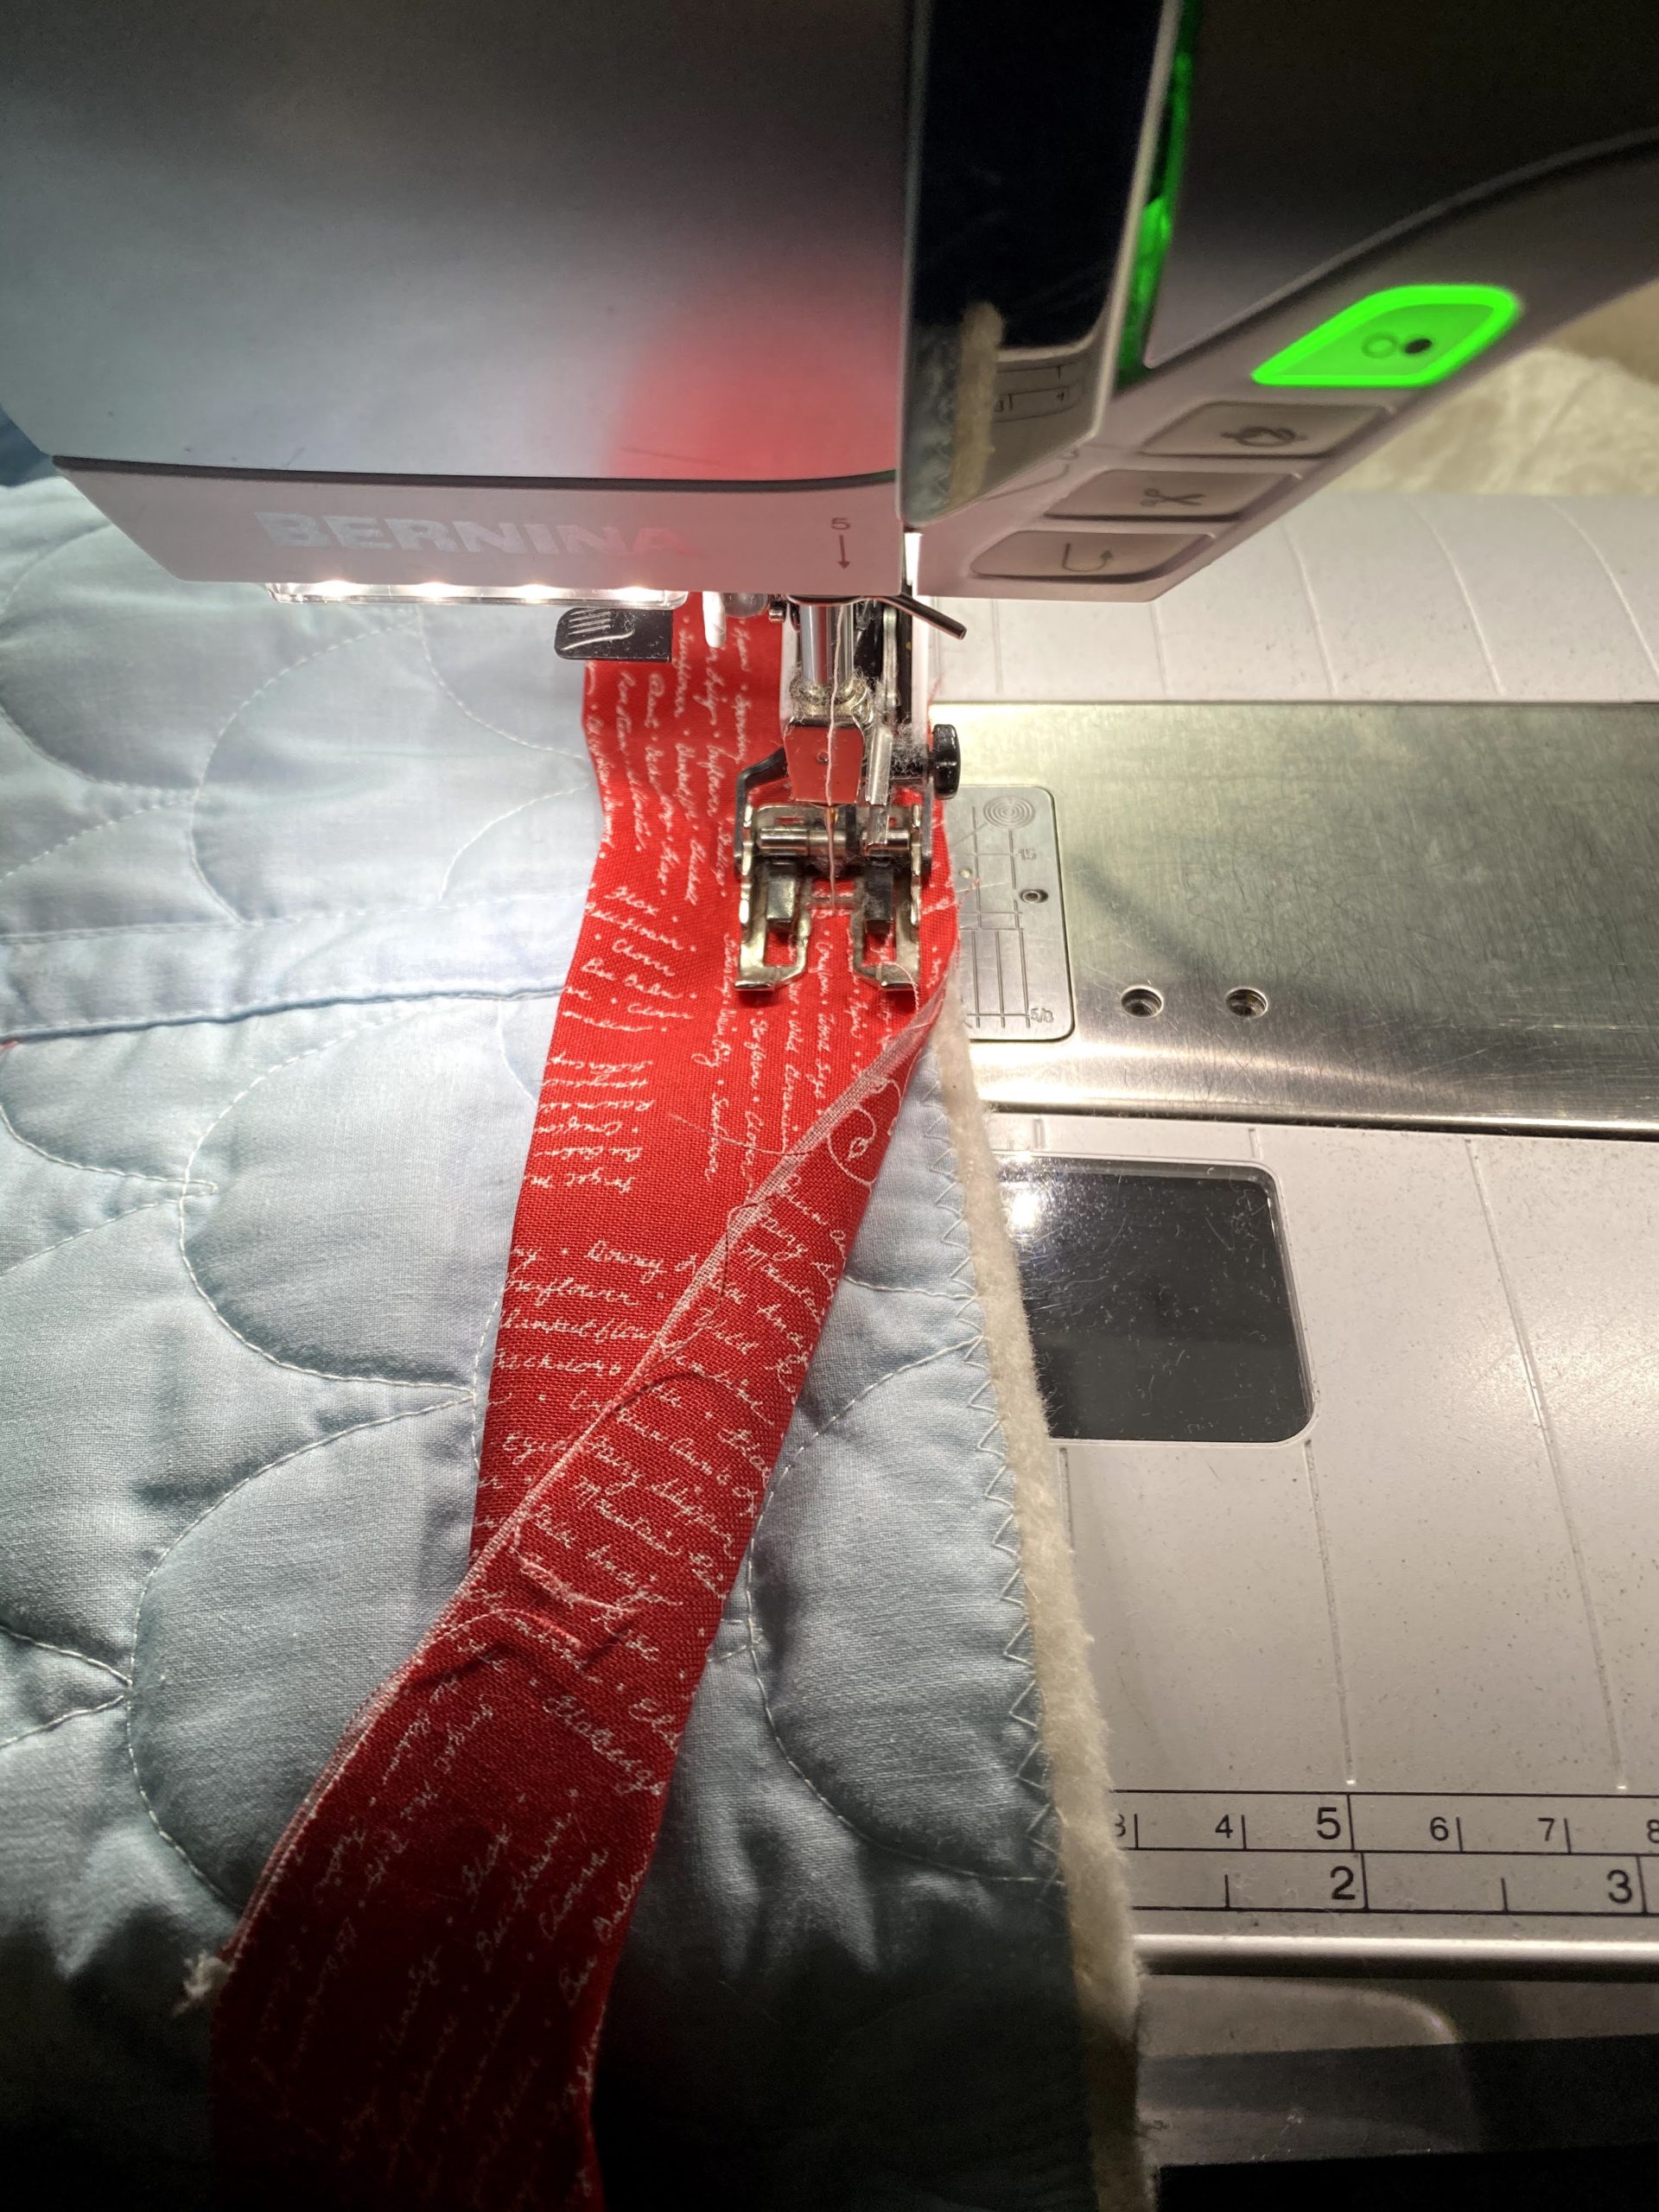

And it worked! The quilt redux, adding a more modern feel to a vintage quilt, was a success and I loved the final outcome.

Happy sewing!


