When I started Allison’s t-shirt quilt, I had no intention of doing a jersey knit binding. I assumed I would back it in Cuddle® minky and probably bind it in Luxe Cuddle® [here’s how that’s done]. But then I got it back from the long-arm quilter and you know about those best laid plans and all…
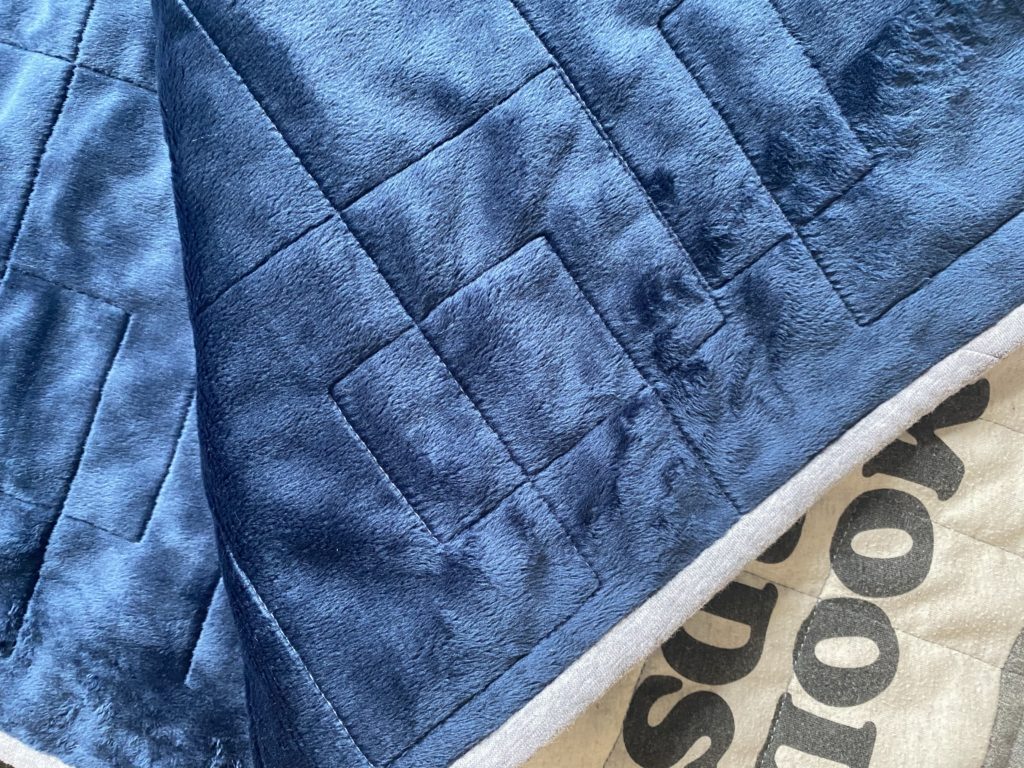
I decided spontaneously to bind with the jersey knit instead, so then I had to figure out how to do it. I’d done enough binding with Cuddle®, which is a plush knit, that I new some of how it could work, but it was a whole different beast than both cotton binding and Cuddle® binding.
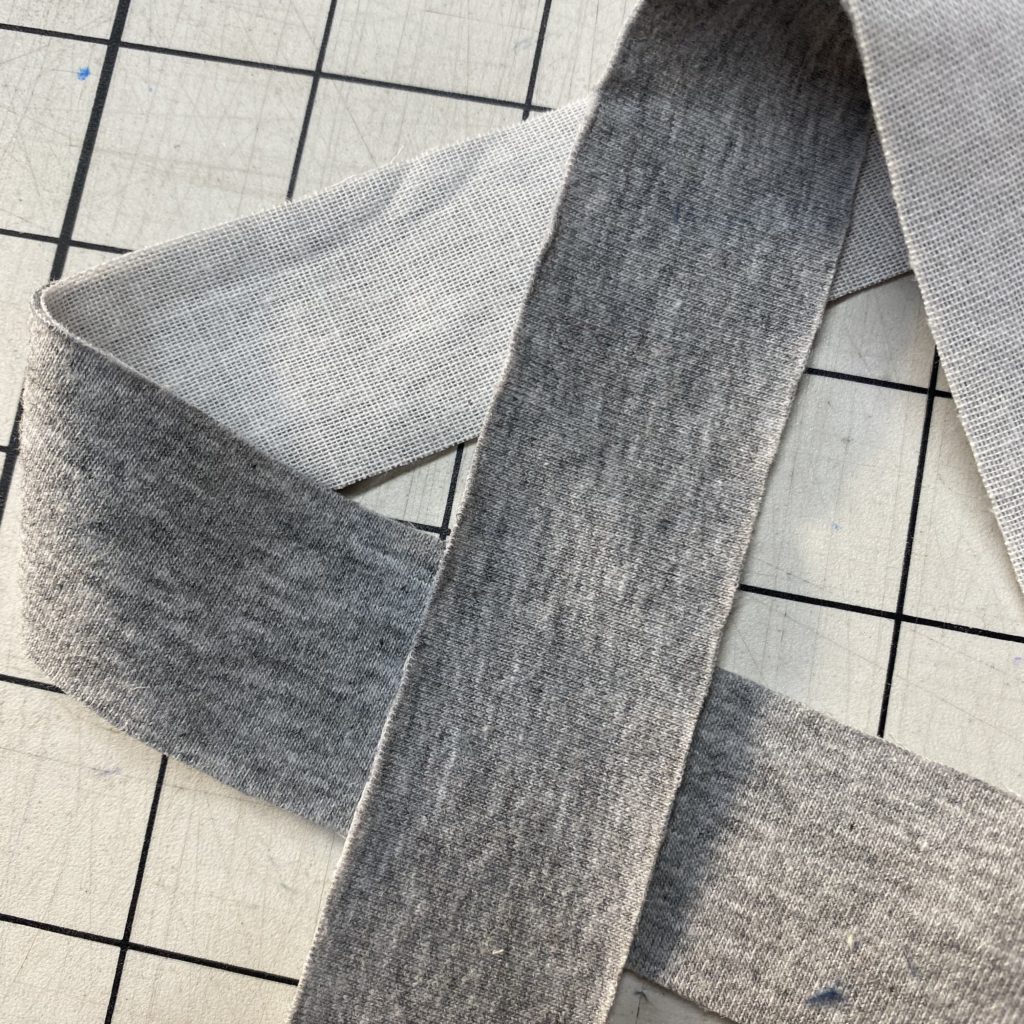
- Fuse a woven interfacing (I used Pellon SF101) to the back of the jersey knit.
- Cut into 1 1/4″ strips along width of fabric
- Sew strips together with a 45-degree angle to create a single strip the perimeter of your quilt (plus 10″ or so).
4. Sew binding strip to back of quilt using a Jersey 90/14 needle and polyester thread.
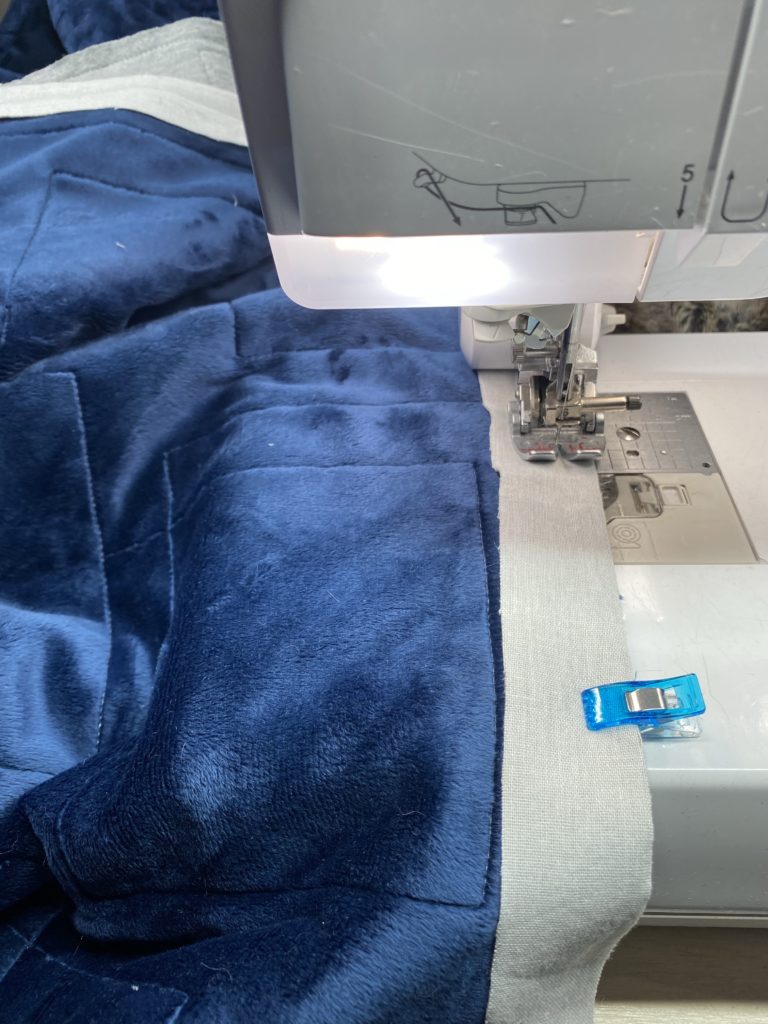
5. Change bobbin thread to Iron N Fuse (Wonderfil) and zig zag over seam allowance with front of quilt against the feed dogs.
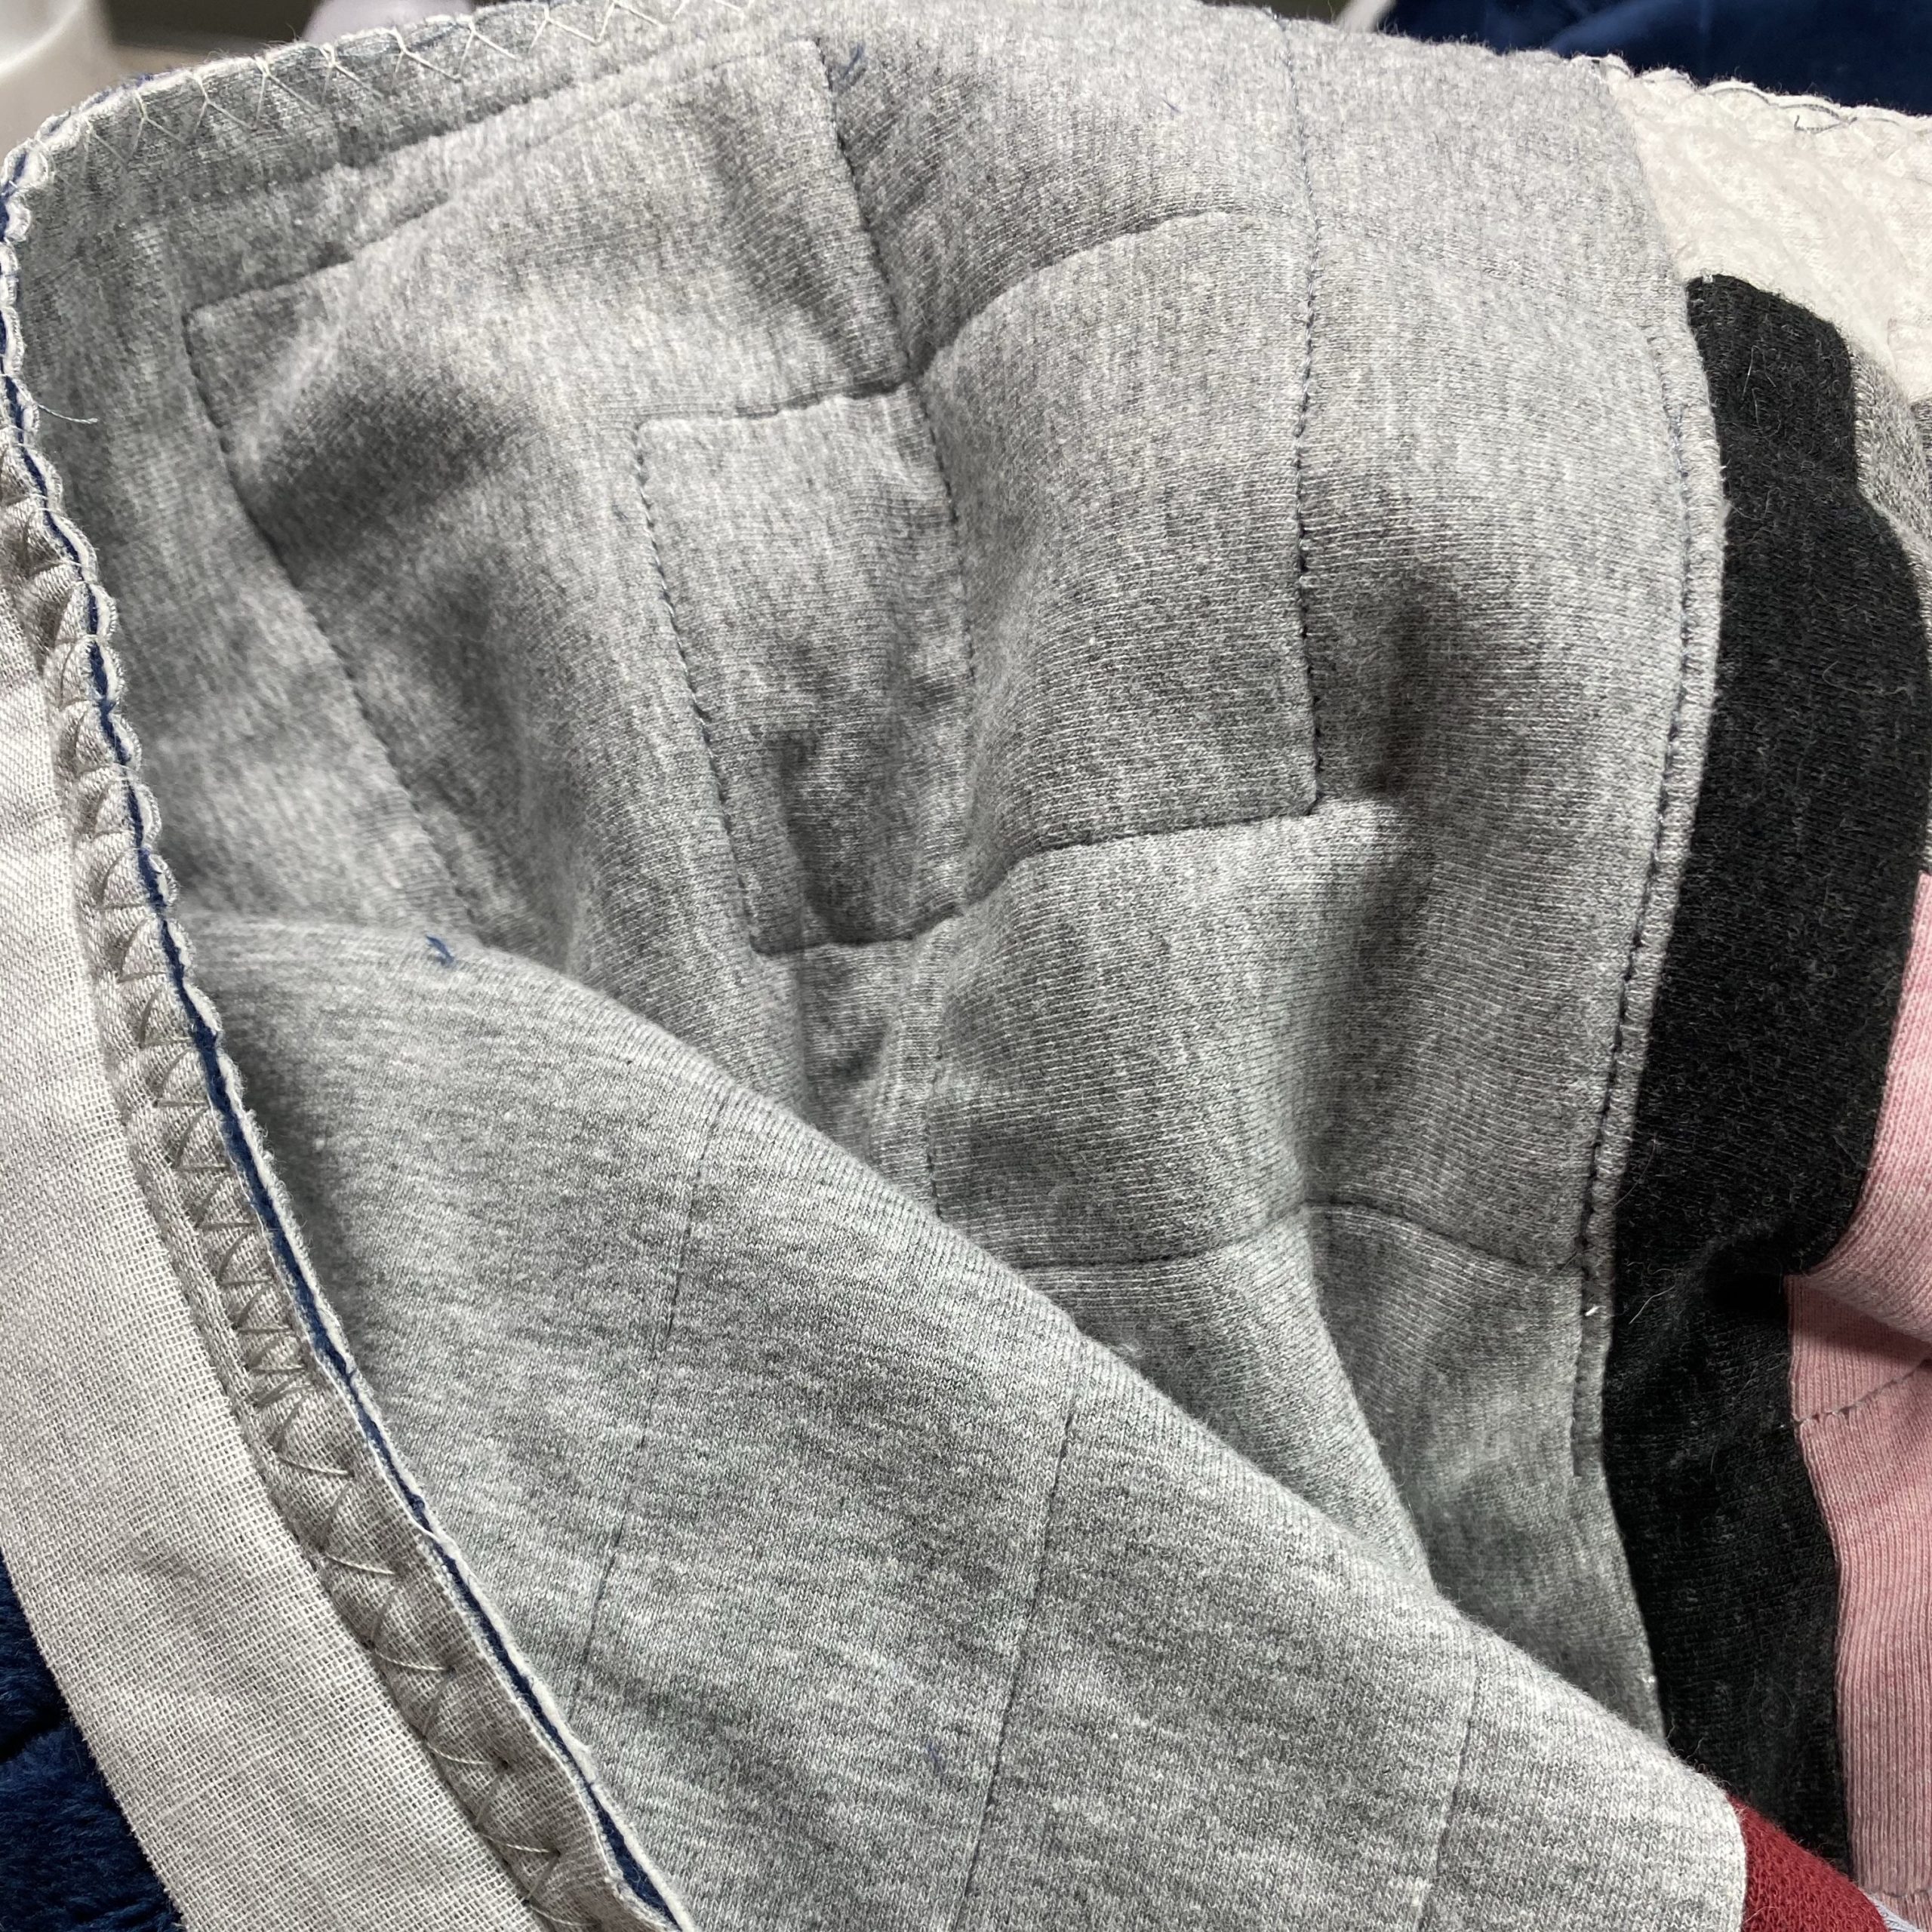
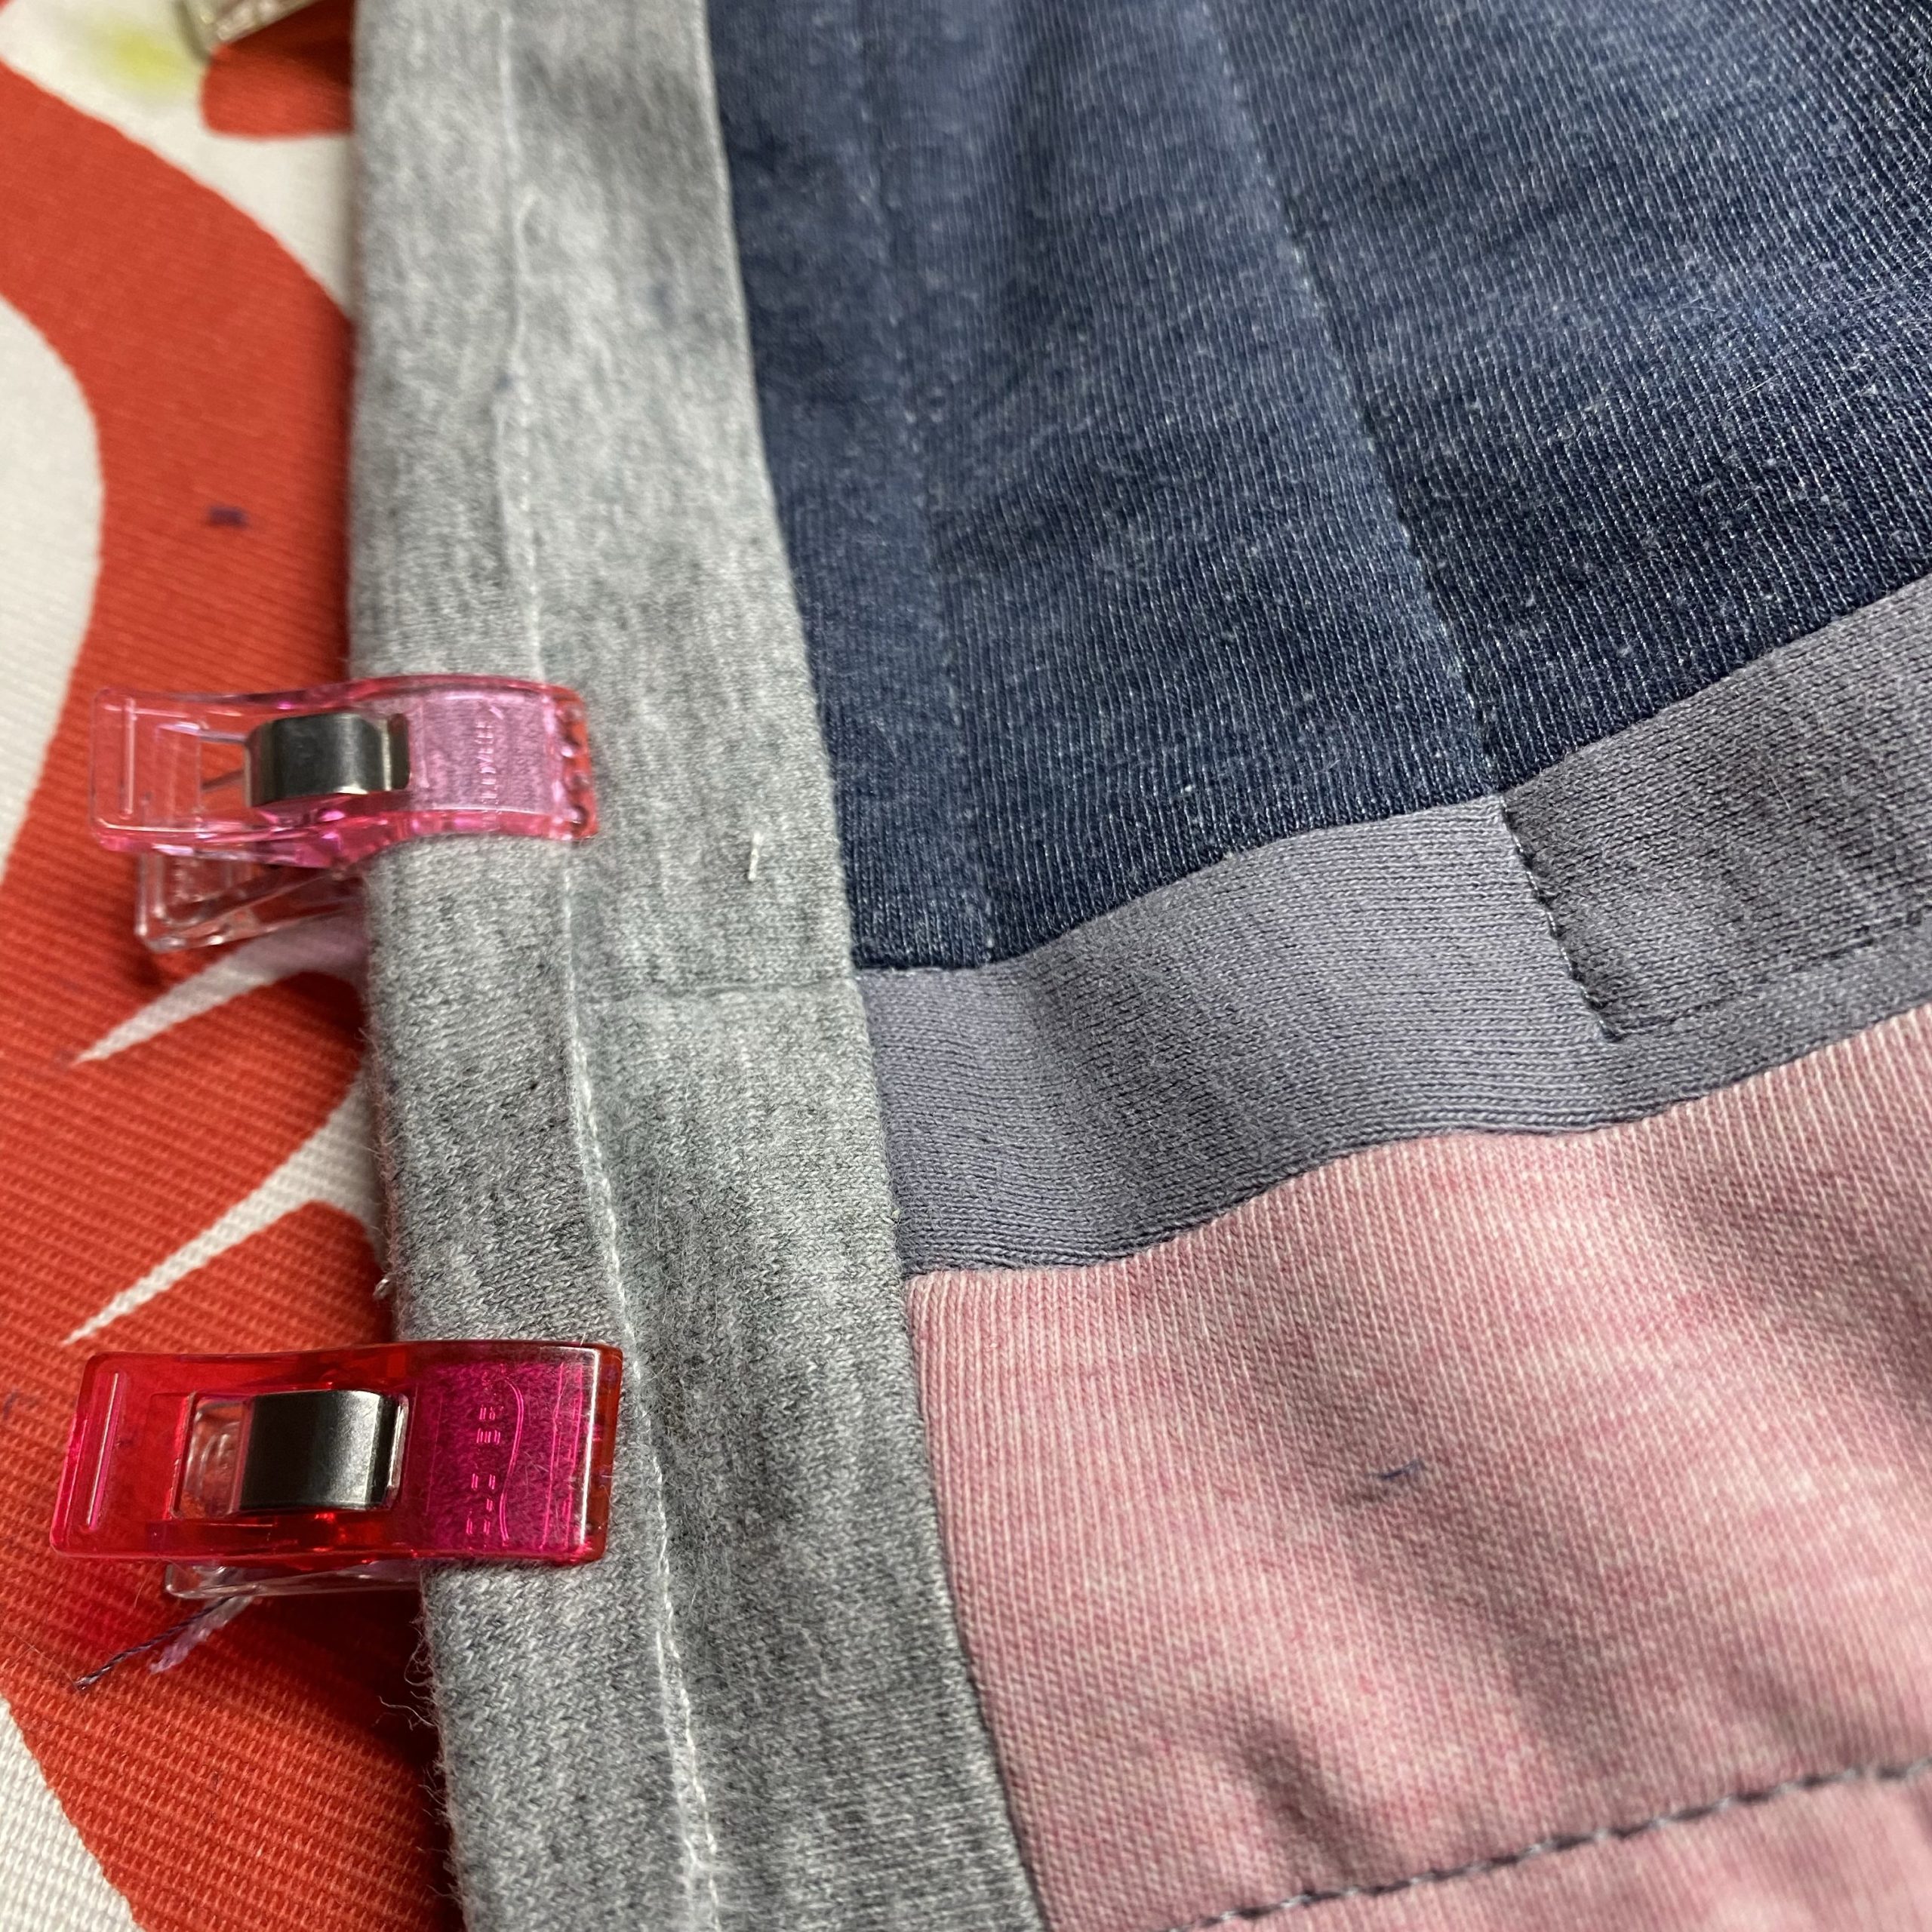
6. Turn and press into place with medium heat iron, lightly fusing the binding to zig zag (use a clapper if you have one). Use Wonder Clips to keep the binding in position.
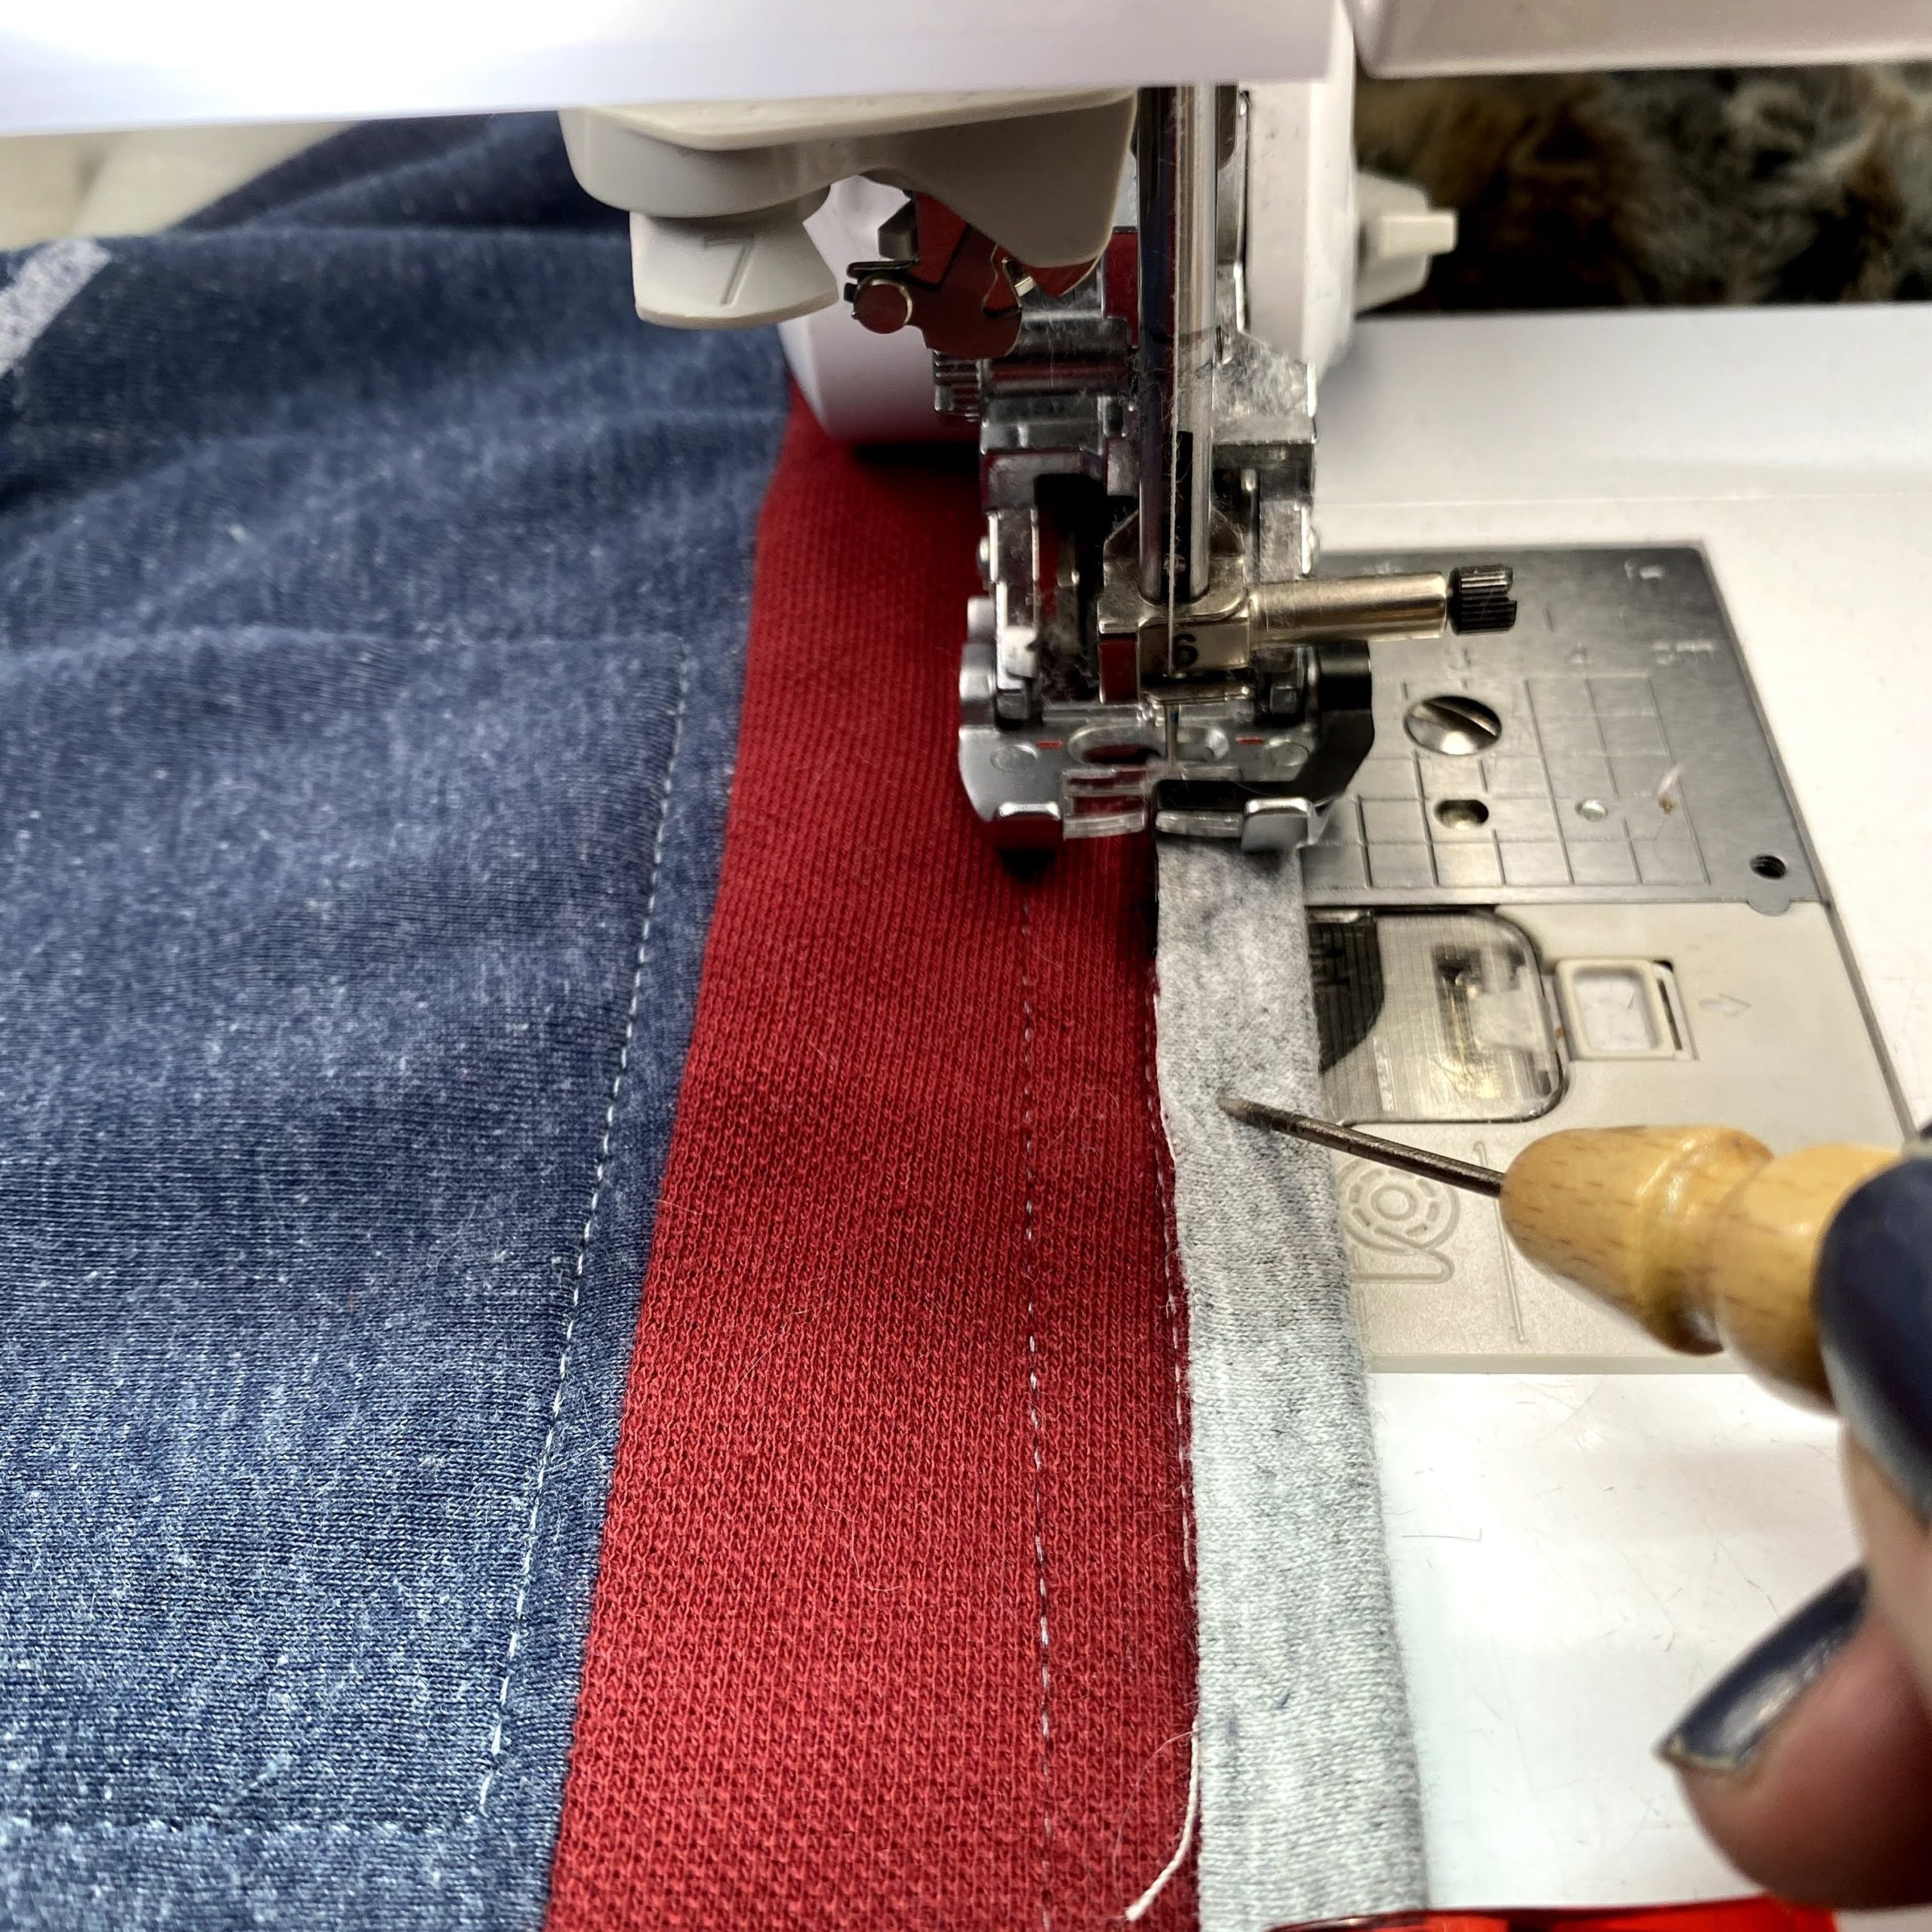
7. Change sole plate to Stitch-In-The-Ditch and use your stiletto to make an even topstitch along raw edge of jersey knit binding.
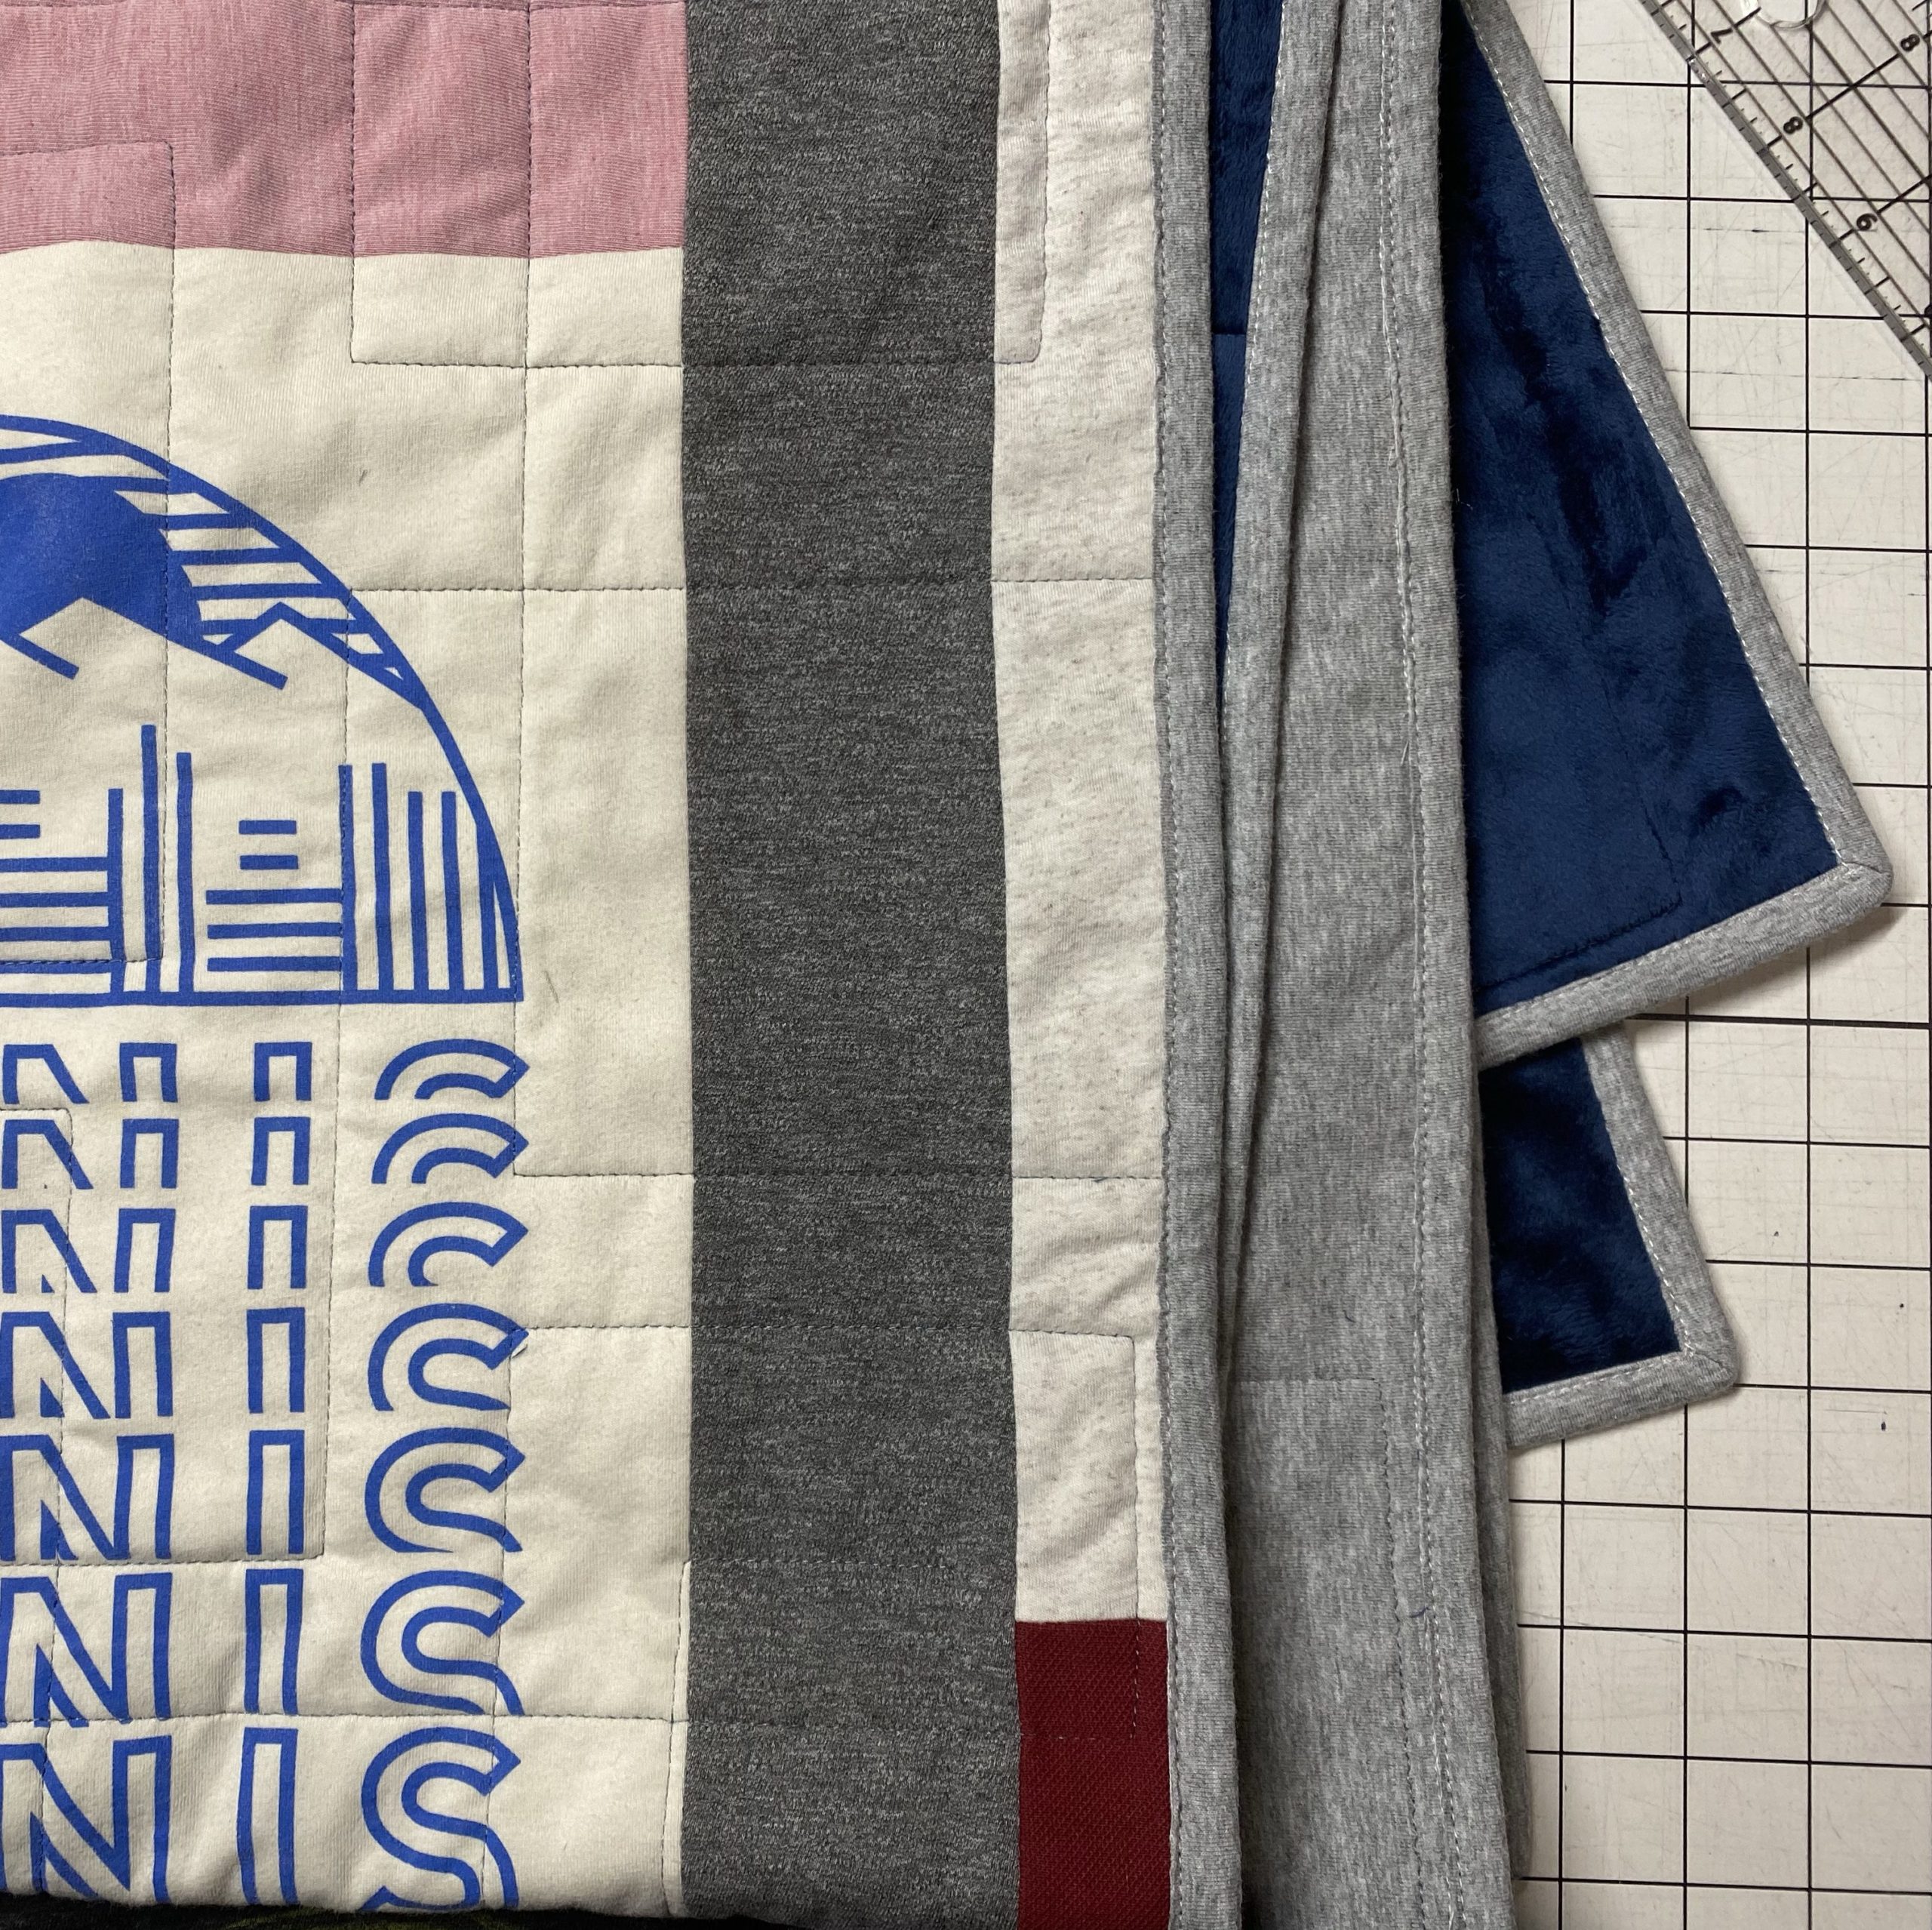
8. Learn to live with the fact that it’s really hard to get the stitching perfect along the seam line and enjoy your soft binding.
It wasn’t terribly hard and I think you could probably use glue basting or Wonder Tape instead of the Iron N Fuse thread. You don’t even have to do that, but I felt like I was able to do slightly better with it already head in place while I sewed. YMMV.
Happy sewing!

P.S. Some of the links on this site are affiliate links, meaning, at no additional cost to you, I will make a commission if you click through and make a purchase.

Pingback: Not Your Grandma’s T-Shirt Quilt – Teresa Coates